Installing Radmin Viewer 3
| Step 1: | Download Radmin Viewer 3. Execute Radmin_Viewer_3.5.2.1_EN.msi on the remote computer (the local computer is the computer from which you connect to the remote computer). Follow the on-screen instructions. All the necessary files will be copied to the system default directory (C:\Program Files\Radmin Viewer 3\). Any previous versions of Radmin Viewer 3 that may be installed on your computer will be automatically replaced with the new version (without changing your settings). |
| Step 2: | Run Radmin Viewer and create a new connection.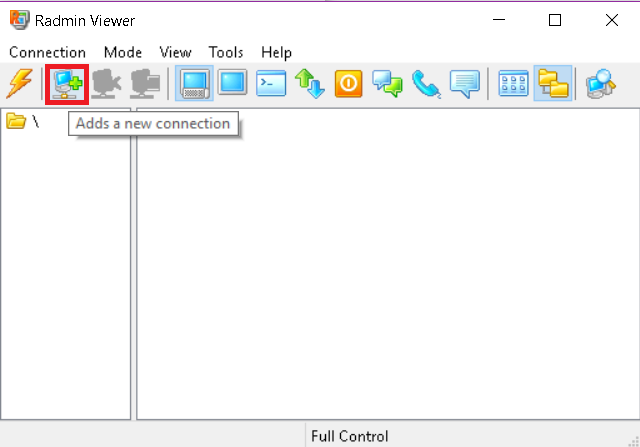
Enter the IP address of the computer on which you installed Radmin Server (see Step 3 above). In case you changed the default port (4899) in Radmin Server (see Step 2.7) please change it here as well. Enter a name for the connection (that will be useful). 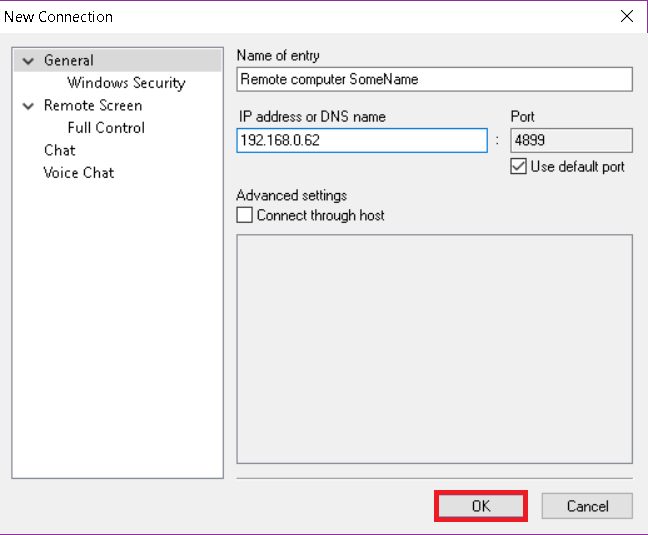 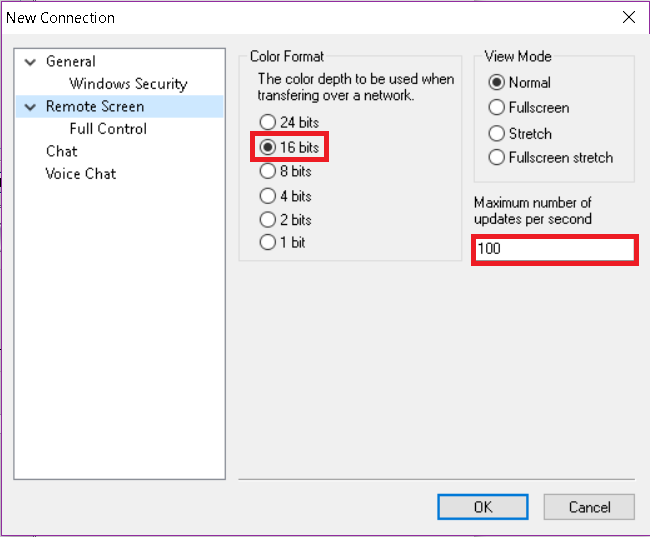 |
| Step 3: | Check the availability of the remote computer by scanning with the built-in scanner. After the scan (if the icon for the connection is checkmarked) Radmin Server on the remote computer is installed and ready for a connection. 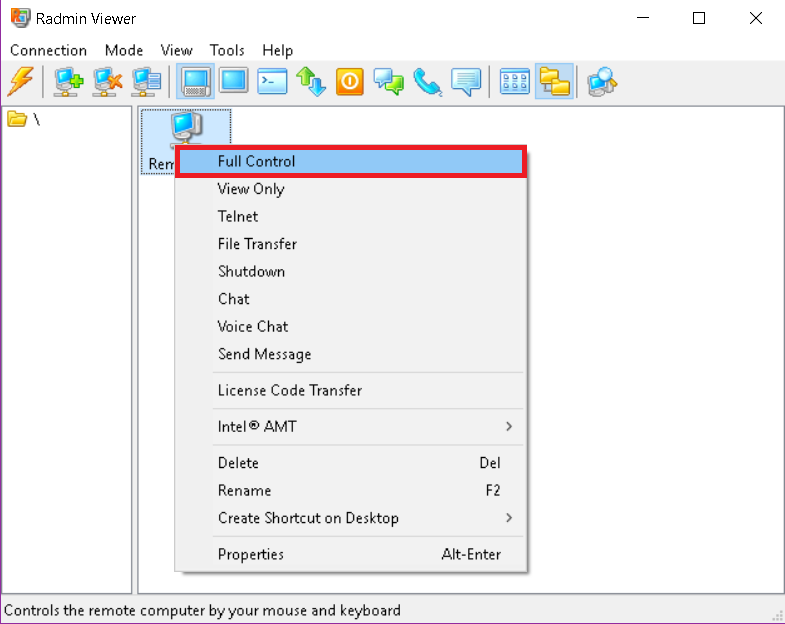
Enter your user name and password, which were defined above in Step 2 (e) in your Radmin Server on the remote computer. 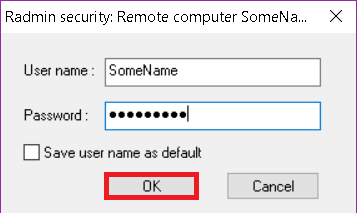
Now you can enjoy a fast and secure remote control of your distant computer! |

